With the changing technological environment and user expectations, the urge to explore and create has grown now more than ever. Animations have come a long way since their inception. Moreover, they feel pleasant to the eyes and give a better user experience. This blog is an attempt to get a basic idea about the working of React Native Animated API. The core idea is to understand how to initialize an animated variable, pass it on to the element and handle it via functions and interpolation.
Getting Started
Following are the things that we will be looking at:
Animated API methods
Animated API provides many methods which enable us to perform animations according to our need. Today we will be looking at 5 main methods which are quite popular and commonly used -
1. Animated.spring()
This method performs a basic spring animation
Initialize the variable in the constructor
Here, the default value given to springVariable is 1 because at the start the default size of the element will be displayed. So, it depends on what kind of animation you want and according to that, you can assign the default value to the variable.
In the above function, we need to first reset the value of our variable to the initial value. This enables us to perform animation again and again. If you miss this step then the animation will happen only once as for the second time, the value of animatedValue will be 1 already.
Now, if you look inside Animated.spring(value, config), config is an object which has the following properties:
Several other properties can be used with spring animation like speed, stiffness, tension, etc. But you can use only one of the similar kinds at a particular time.
You can explore more about spring animation here.
Simple native elements don't support animations. We need to define animated components using Animated API to add animations to them. createAnimatedComponent() can be used to make any component animatable. Components like Animated.View, Animated.Text, Animated.Image, etc. are provided out of the box by Animated API and can be used on the go.
Here, an Animated.View component is used and the animated variable is passed on to the transform property of the style attribute. And we are calling our animation handler on click of the button. It is recommended to read a bit about transform property before working on animations as most of the animated variables will be passed on to it.
The output that we will see on DOM will be:

2. Animated.timing()
It animates the value over a given period from one value to another. It also uses the Easing module which provides several predefined animation curves which one can use in animation.
It is the same as Animated.spring() and you can initialize it with default value 0/1 according to the need.
It is a bit different from Animated.spring() animation handler. The difference in the config object is as follows:
You can explore other config properties and more about Animated.timing() here.
The animation component for this animation is the same as the spring animation.
The output that we will see on DOM will be:

This animation method can be used in a multitude of ways according to the need.
3. Animated.decay()
It animates a value from a particular velocity to zero i.e the animation gradually comes to halt over a while.
Like the previous animations, you can initialize the variable with 0/1 according to need. Here, I am initializing it with a value of -200.
This is the value that I will be using for the y position of the element. So initially it is set at -200.
The handler is a bit different from the previous ones. Following are the new properties of the config object:
You can explore other config properties and more about animated.decay() in the official docs.
I am using the animated value to move the element along the y-axis that’s why I have used transform: [{ translateY: this.animatedValue }] in the style attribute.
The output that we will see on DOM will be:
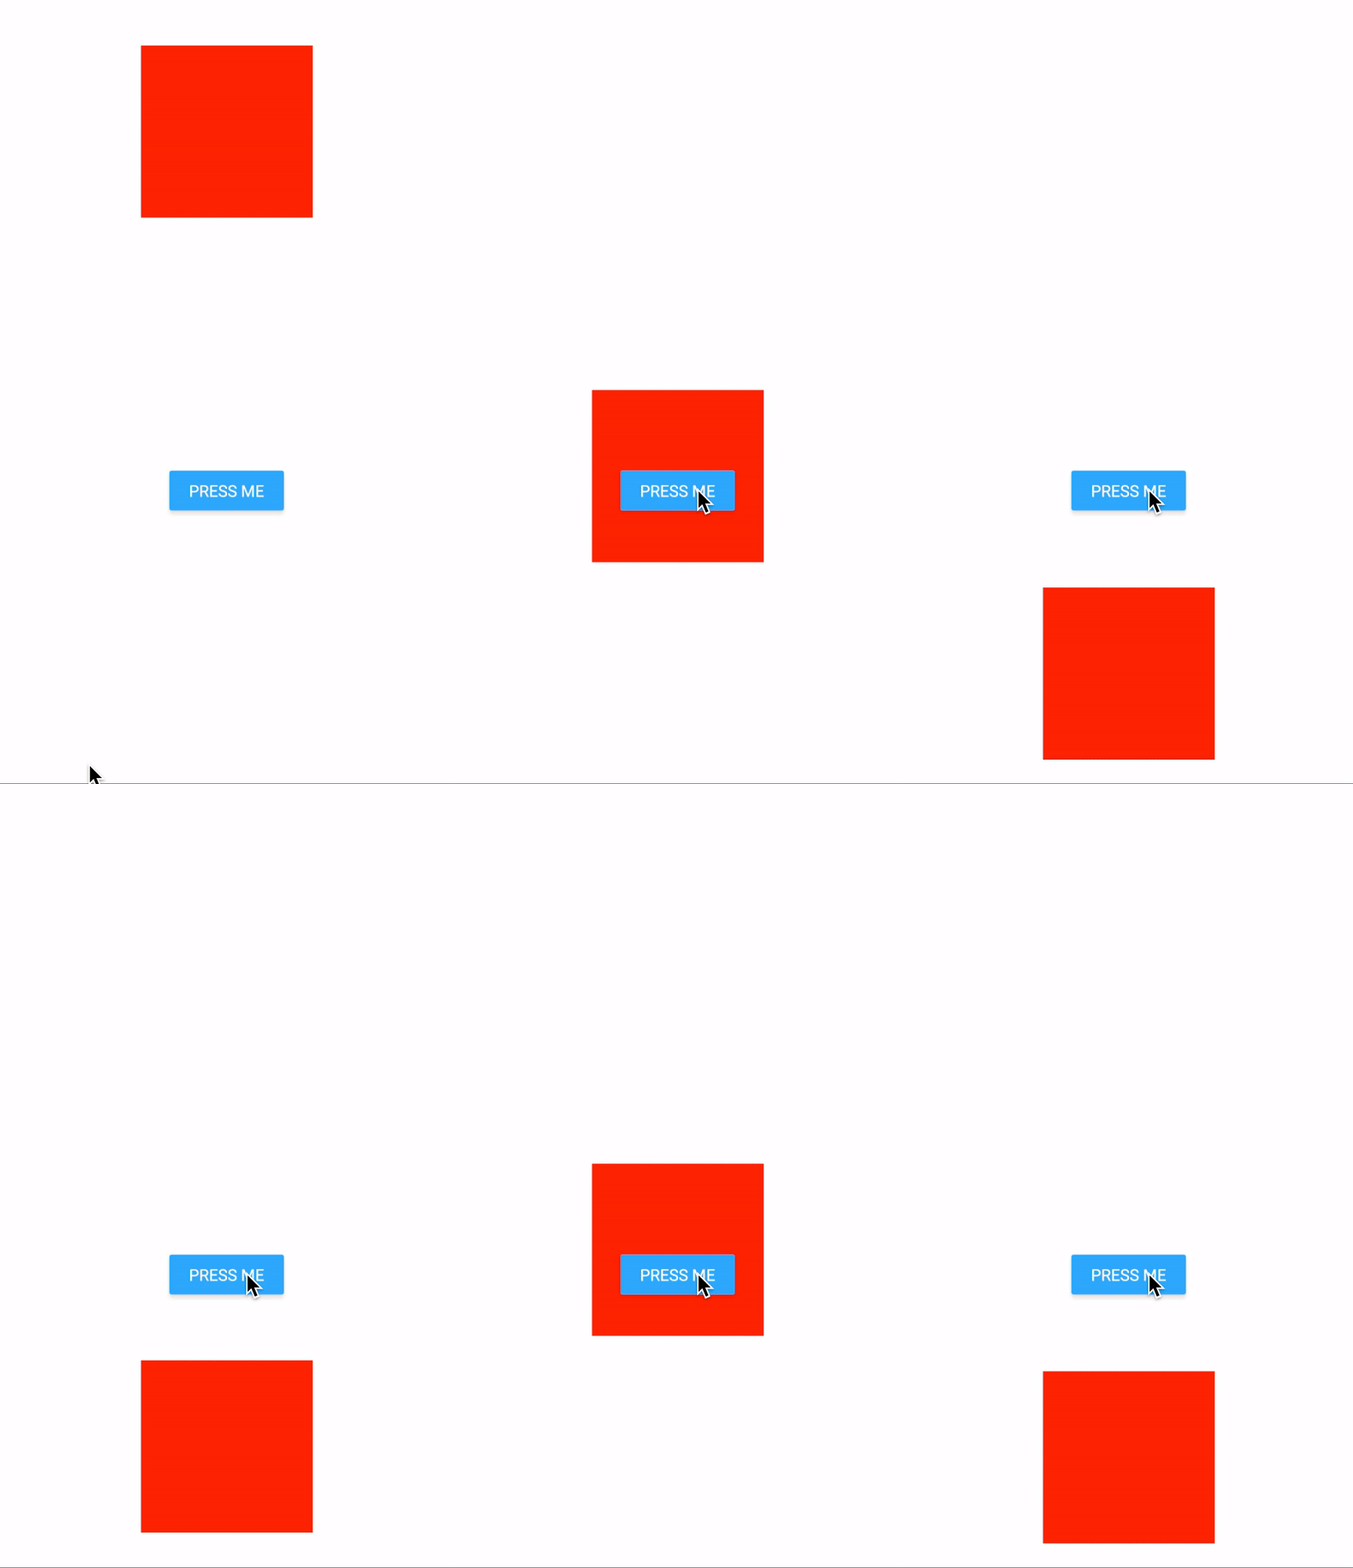
As you can see, the animation starts with a certain velocity and decelerates along the way to finally come to a halt.
4. Animated.sequence() and Animated.parallel()
These methods enable us to perform animations in combination with one another. As the name suggests, sequence enables us to perform animations one after the other and in the parallel method, animations run parallel to each other.
Let’s look at a sequence method example:
We have defined timing and a spring animation method inside the sequence method. Firstly, the timing one will be executed and it will be followed by the spring.
Animation component is the same as used in the timing and spring animation.
We will look at an example for the Animated.sequence() method:

I hope you have got an idea of how to run a combination of animations, now try and implement the parallel method on your own. The process is the same as the sequence method.
Apart from sequence and parallel methods, there are other methods as well that let you execute animations in combination. You can explore about them in the official docs under Composing animations.
You can also combine animated values via simple arithmetic operations like addition, subtraction, multiplication etc. You can read more about it in official docs.
Interpolating values
Interpolation means we can derive a particular animation behaviour throughout the animation cycle. We provide an input range of animation cycle completion instances and according to that, we derive an output range of animation behaviour like how the animation should behave at the different instant of the animation curve.
Interpolation is an addition to the already implemented animation method like timing, spring etc. To interpolate an animated variable, we need to declare another variable that will provide us with the interpolated value derived from the input and output range discussed above.
Let’s understand this with an example:
The process is the same as for any other animation method with an extra step added for the interpolation:
We will use the timing method for this example. I have provided the duration of 400ms for the completion of the animation.
I have defined interpolatedValue (can be defined inside the render method) which interpolates animatedValue over an input range of the animation curve. Here what it means is, the element to which this interpolatedValue is passed should be at 0 degrees rotation at the beginning of the animation and should rotate to 90 degrees when half of the animation is completed (i.e at 200ms) as we are mapping 90deg with the 0.5 entry of the input range and when the animation is completed (i.e at 400ms) the element should rotate back to 0 degrees. We can provide any number of instances for the input range and accordingly define the output range.
NOTE: The number of input and output entries should be the same and unlike the output range, the input range should always be progressive and can’t go backwards.
We pass the interpolatedValue to the rotate property as shown.
Output on DOM:

This brings us to the end of this blog. This was a simple walkthrough of some of the most common animation methods of the Animated API. There are many other animations and gestures that you can implement using this API.
Check out the Github repo to try these animations yourself.
Keep Learning!